
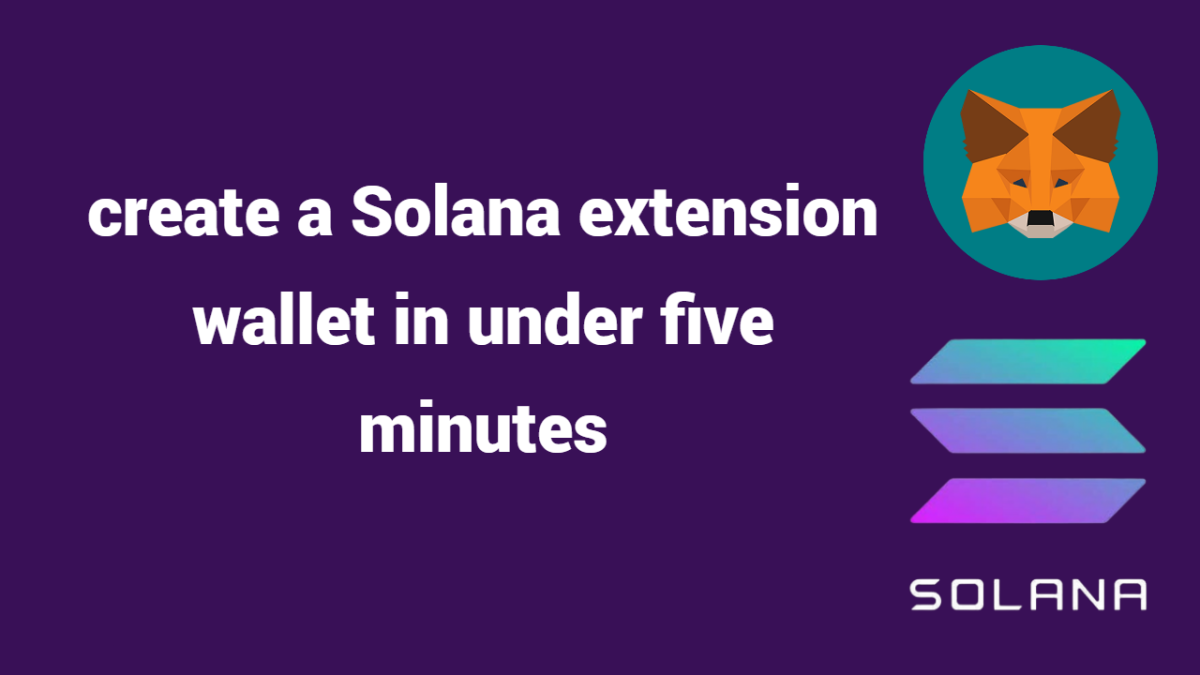
Do you want to start using Solana wallet quickly and easily? With just a few clicks and less than five minutes, you can create your own secure Solana extension wallet. This blog post will walk you through the steps of setting up your wallet and show you how easy it is to access and use your funds. Keep reading to learn how to create a Solana extension wallet in under five minutes.
Go to the Google Chrome store and download the MetaMask extension

Creating a Solana wallet can be done quickly and easily with the MetaMask extension. MetaMask is a secure, open source browser extension that allows you to manage your Solana wallet, making it easy to create and store your cryptocurrency. With MetaMask, you have complete control over your private keys, giving you an extra layer of security for your Solana wallet. Plus, you can send and receive payments in just a few clicks. To get started, go to the Google Chrome store and download the MetaMask extension. Once installed, open the extension and click Create a Wallet. Enter in your seed phrase (make sure to store this somewhere safe!), create a password, enter in the following information, and connect to the Solana network by going to the Networks tab and selecting Custom RPC. You’re now ready to use your new Solana wallet!
Once installed, open the extension and click Create a Wallet

Creating a Solana wallet is the first step to taking advantage of the Solana blockchain. To create a secure Solana wallet, open up the MetaMask extension and click on Create a Wallet. After entering in a seed phrase (which should be stored somewhere safe), you will also need to create a password. This password is essential for the security of your Solana wallet, so make sure to choose one that is difficult to guess. Once you have all of the necessary information entered, you can connect to the Solana network by going to the Networks tab and selecting Custom RPC. With your wallet now ready, you can start taking advantage of all the great features that Solana has to offer.
Enter in your seed phrase (make sure to store this somewhere safe!)

Creating a Solana wallet is an important step in the security of your funds. A seed phrase is a set of twelve randomly chosen words used to generate your private key. This private key is essential for securing access to your wallet.
When creating your Solana wallet, you will be asked to enter in your seed phrase. It is important to store this seed phrase in a secure place as it is the only way to access your wallet. Your seed phrase should not be shared with anyone, and it is best practice to keep it offline or use a password manager like LastPass or KeePassXC.
It is important to remember that anyone who has access to your seed phrase can access your Solana wallet, so be sure to store it securely and never share it with anyone.
Create a password

Creating a password for your Solana wallet is an essential step in securing your assets. Password security is critical for any crypto wallet, and Solana wallets are no exception.
When creating your password, it is important to make sure that it is strong enough to prevent unauthorized access. A strong password should contain at least 8 characters, including upper and lower case letters, numbers, and symbols. It should also not be based on easily guessed words or phrases.
Once you have chosen a secure password, make sure to store it somewhere safe and out of reach from anyone who may have access to your computer or devices. You can use password manager tools like LastPass or 1Password to help you keep track of your passwords and ensure that they are secure.
It is also important to remember that having a strong password alone is not enough to secure your Solana wallet. Make sure to enable two-factor authentication (2FA) whenever possible and to never share your seed phrase with anyone else.
Creating a secure Solana wallet is essential in order to protect your cryptocurrency assets. Taking the necessary steps to create a strong password and keeping it safe are key components of staying secure when using Solana wallets.
Connect to the Solana network by going to the Networks tab and selecting Custom RPC

Once you’ve finished creating your Solana wallet, you’ll need to connect it to the Solana network. To do this, simply open the MetaMask extension and click on the Networks tab. Here, you’ll be presented with a list of networks that you can connect to. Select the Custom RPC option and enter in the details for the Solana network. This will allow you to securely and safely access your newly created Solana wallet and store any tokens or coins that you may want to purchase or use. For added security, make sure to create a strong password and back up your seed phrase in a safe place. With these simple steps, you’ll have successfully created a secure Solana wallet and connected it to the Solana network.
Enter in the following information
When creating your Solana wallet, it is important to make sure you provide accurate and secure information. You will need to provide your Custom RPC URL and Chain ID, as well as your wallet name. The Custom RPC URL and Chain ID can be found on the Solana mainnet explorer. The wallet name is up to you and will be used for security purposes, so make sure you choose something that is easy to remember, but difficult for anyone else to guess.
Once you have entered all of the information, click ‘Create’. This will create your Solana wallet, giving you a secure way to store, send, and receive Solana tokens. Your new Solana wallet will appear in the Accounts tab within MetaMask, where you can manage and view all of your Solana transactions. To ensure your wallet’s security, it is highly recommended to backup your seed phrase in a safe location.